2011-06-19

Final Assembly!

I'm still technically a few weeks behind in my updates because my car was driving around on June 8th.  But let's pretend that it's Sunday, June 5th, and I have some parts that still need to go on.  Here they are:


take a second to bask in the shininess of brand new parts.

You'll want to install the axles.  I tried to make this a one-man job (it basically has been so far) and juggling the axles was something I wanted to do delicately.  So I made Axle Hangers using a strap from some lunch box and a bunch of zip ties.

Here's how they work:  Set the axle (near the outer joint) in the hanger.  Guide the inner end of the axle into the transmission, being VERY CAREFUL not to damage the axle seals on the gearcase.  Basically the hanger supports the weight of the axle while allowing you to move it around and align it carefully into the gearbox.  If you eff this up, you'll need to replace the seals.  So don't botch it.


Now that the axles are in start putting other parts on:


Bolt up some of the other new parts:


PLEASE ENJOY some nice suspension pictures:


Strut Towers and tower bars

If you have a Civic, you must install strut tower bars, and this is a well-known fact.  Unless you don't have the internet, you basically understand how a strut tower bar works and how it mounts to the frame.  Every aftermarket bar I've seen (with the exception of the Neuspeed unit with two small contact pads) has a large, flat mount surface that is secured to the shock top-hat studs.  This is actually a very good way to brace the frame, since the loads are transferred directly from the shock to the bar without having a separate mount point on the sheetmetal, as per some OEM tower bars (Integra, EG civic, etc).

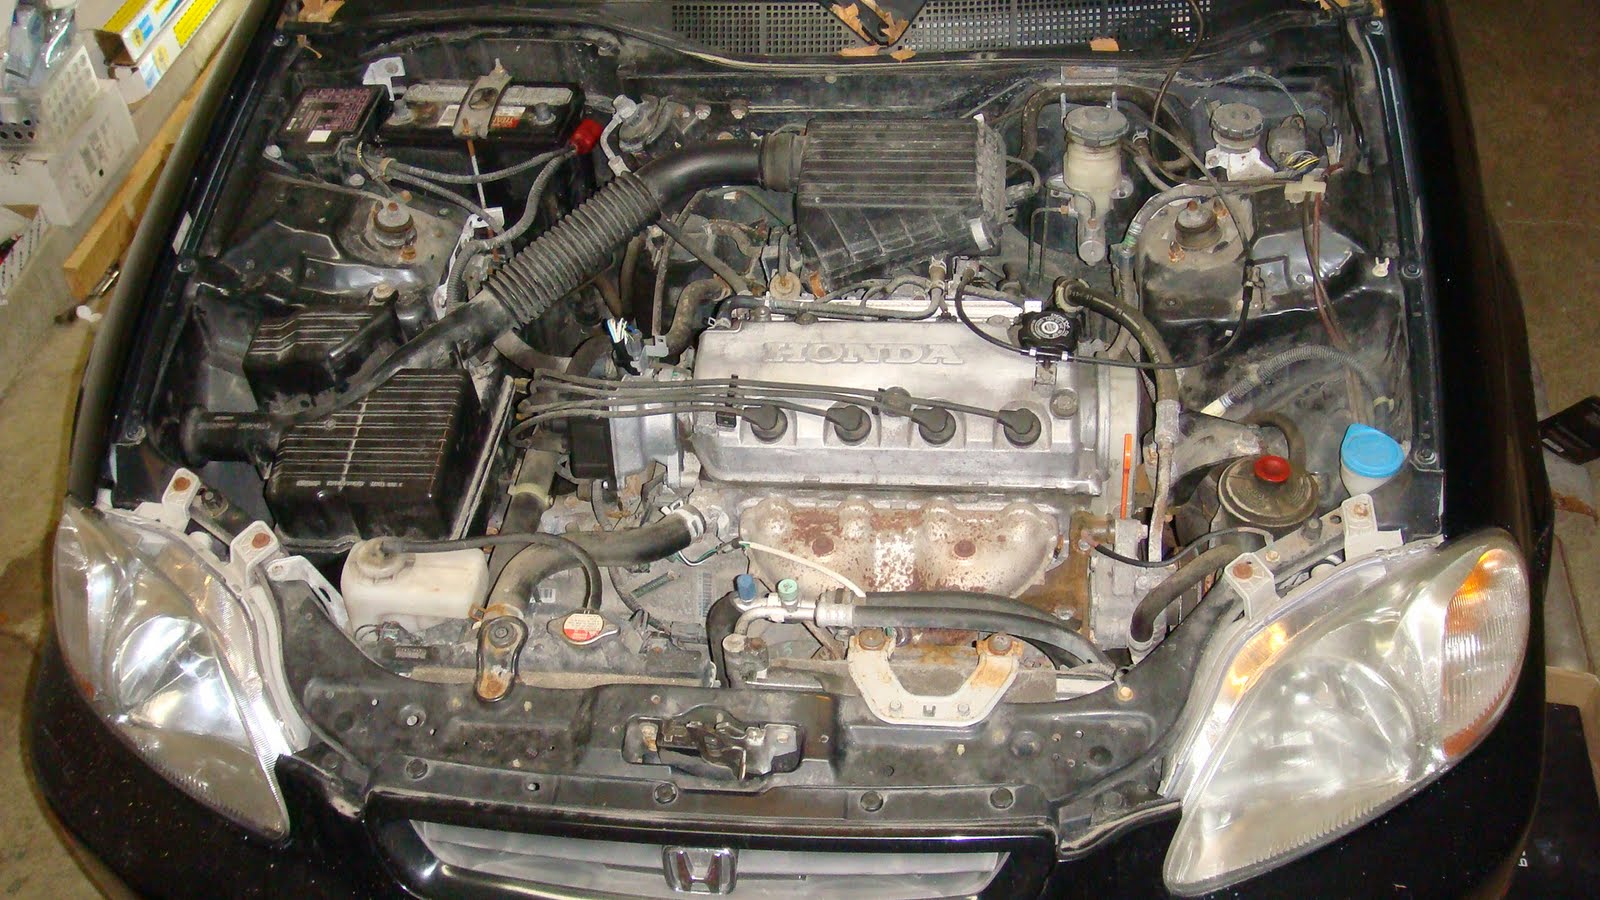
However, your Civic, as mine did, may have a problem with flat area on the shock towers.  See the below pics:


You need to remove the body sealer circled in red.  I took a screwdriver and GENTLY pried the bulk of the sealer off the strut tower.  After that, you'll need a Dremel with a couple different brushes.  At first, use the nylon-bristle brush to remove any remaining sealer.  After that, take a stainless-steel brush to remove as much surface rust as you can.  After those steps, your tower will look like this:


When you're satisfied with the level of crap-removal, clean the surface with rubbing alcohol.  This not only removes particulate contamination, but also removes grease and oils and stuff.

Post-alcohol, it looks like this


After that, start masking stuff off.  Here's some pics:


You can see what's basically going on so I won't give the play-by-play.

After that, I shot three coats of primer and three of Duplicolor metallic black that, in theory, matches Honda black.  Try to avoid overspray.


Towers are done:


...and the final result.  My color matching skills are terrible at best.  Honestly, the color difference is very noticeable with flash photography, and not so much otherwise.

Soon I will have a tower bar to detract from any color discrepancy, and it will have a nice mating surface on the shock tower.

2011-06-05

Manuel steering

First of all, I know manual is spelled "manual".  I just love when I'm gettin my craigslist on, and people are like "yo buy my car, it's got a manuel transmission".  But I digress.

I previously mentioned that I didn't think that back-converting an Integra power-steering rack to manual steering was a great idea, so my homie Taku and I hit up the Pick and Pull for some new-to-me parts.  There were lots of EG civics surprisingly, and one had the exact thing I wanted: an in-tact steering rack and subframe.

It was looking rough, but I took a bit of PB blaster and some soap and water to it and got it looking pretty.


You'll notice I snatched the DC Integra cross-brace (red arrows, second pic above) and bolted it to the EG subframe.  It's a direct bolt-on since the weld-nuts are already there.  Some Honda engineer 20 years ago knew that you'd want to do this swap.  Don't torque this down until the subframe is securely fixed to the body.

If you do this swap, you'll also need a rear engine mount bracket from a car fitting this description: 1992-1995 Civic, D-series engine, manual transmission.  This required a second run to Pick and Pull, and thanks again to Taku for helping me yet again.


You'll see the bracket labeled EG.  When building a car, first go to Joanne Fabrics.  This is not a joke.  Buy bright-colored Sharpie paint markers.  When you buy parts or remove parts, label them.  When you torque bolts down, mark it.  You'll see your car came from the factory with many such marks (look at the subframe bolts).  It's a good idea.

The last step is the steering universal joint.  This is the most difficult part, oddly enough.  Don't fit the subframe to the body with the universal joint on the rack.  Take it off and fit it later.  Learn from my mistakes.  The universal only fits on the steering column at one angle (clock position), but can be fit 360-deg around the steering gear.  Live and learn.


I'm still amazed at how all this stuff just bolts right up.  These old Civics and Integras are like legos for big kids.  Big, rusty Legos.

ZZZZzzzzz
-jkwan

Pass. Side RR Sus parts...

Some more eye candy...


New Cluster

Little tidbit I got in the mail from HMotorsOnline.

Everyone likes Si and JDM CTR meters, but taking a look at the JDM EK4 Si-R meter, I have no idea why.  Amber on black color scheme, 9k+ RPM revcounter... this thing is tight.

Incredibly easy to install also.

I'll get a night photo when the battery's in the car.


2011-05-19

Puttin' her back together...

I'll try to keep this post quick with not too much blathering on about stuff.  The pictures are the stars here.

When reassembling an EK civic, please assume that at some point, you may want to take it apart again.  Use this stuff (anti-seize that is) (and use gloves because that crap is difficult to get off your hands):


Now start putting parts on your car.  In this case, you're looking at a pretty standard Ground Control / Koni yellow setup with Skunk2 Black-series lower control arms.  I have high hopes that this setup will perform nicely.


The inner LCA bolt is surprisingly difficult to line up, especially with new control arm bushings.  Wiggle until the bolt goes in and be careful not to cross-thread the bolt in the weld nut on the subframe front side.


For dramatic effect, how bout another picture of a factory-fresh trailing arm.


To ensure proper torque settings and tensile loadings of your bolts, try to keep the anti-seize application region restricted to the non-thread-engagement areas.  Here's how to do it:


So your mark looks like this:


Apply anti-seize between the bolt head and the line you just made.  Refer to the first picture again if you already forgot.

If memory serves, wrench access is less-than-stellar to the front of the compensator link once it's mounted in the chassis.  As such, I'm going to say screw-it and torque this bolt down before it goes in the car:


Again, mark the anti-seize length for the camber link.  By the way, what's that tasty-looking camber link???


She's looking good eh?


Pic of the GC setup:


Oh and by the way, that's a Skunk2 adjustable camber link:


...and here's how she sits now.  My garage is a mess.  Don't judge.


Time to finish my Spaten and go to bed.  So good night kind sirs.

-jkwan

2011-05-18

Things are getting serious

And so I start collecting parts.

I mentioned the Integra parts weren't up to par.  I sold them for real cheap.  In their stead, I got these, addressed straight to me.  From American Honda with love.


Here's what's inside:  Brand New model-year 2000 Civic SI parts.  The first shipment of many.


Have you ever seen such pretty trailing arms?  Unless you were working on the shop floor in 1999, that is a rhetorical question.


it's not amateur hour anymore.

-jkwan

Subframes and Racks

Please enjoy a brief overview of steering racks and subframes...

Here's the stock steering rack from my Civic.  I'm guessing the rack with the S04 labels were applied on several EK (1996-2000 Civic) chassis, assuming it wasn't a CX with manual steering.


Here's the stock tie rod ends.  I guess I'll replace them:


Here's the DC subframe from which the previously-dismantled steering rack/steering gear is from:


There's two ways to tell a DC (1994-2001) subframe from an EG (1992-1995) subframe, as far as I know.  First, the DC part has a cross-bar, seen in the above and below pictures.  Also, Integras came with power steering.  Some EGs did not.  A power rack is bigger in diameter than a manual rack, so the welded-on bracket (circled in red) has a relief for a round bushing (arrow) in the below picture, as opposed to a smaller-diameter D-shaped bushing of the EG manual racks.

If however the EG came with power steering, the cross bar may be the only difference.

In good news, the EG subframes already have the weld-nuts for the crossbar, so if you can find the bar in a junkyard, it will bolt straight up to your EG subframe.


Finally, here's the hotness I got from Pick-and-Pull: a 1993 Civic DX manual-steering rack and subframe!  This is how to properly install manual steering on your EK.


hasta luego
-jkwan