I'll try to keep this post quick with not too much blathering on about stuff. The pictures are the stars here.
When reassembling an EK civic, please assume that at some point, you may want to take it apart again. Use this stuff (anti-seize that is) (and use gloves because that crap is difficult to get off your hands):
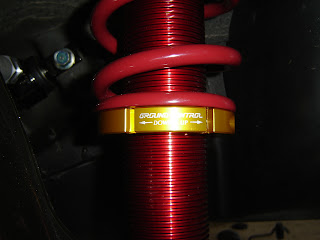
Now start putting parts on your car. In this case, you're looking at a pretty standard Ground Control / Koni yellow setup with Skunk2 Black-series lower control arms. I have high hopes that this setup will perform nicely.
The inner LCA bolt is surprisingly difficult to line up, especially with new control arm bushings. Wiggle until the bolt goes in and be careful not to cross-thread the bolt in the weld nut on the subframe front side.
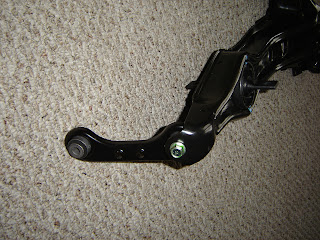
For dramatic effect, how bout another picture of a factory-fresh trailing arm.
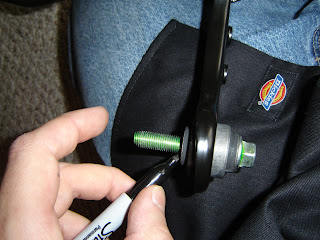
To ensure proper torque settings and tensile loadings of your bolts, try to keep the anti-seize application region restricted to the non-thread-engagement areas. Here's how to do it:
So your mark looks like this:
Apply anti-seize between the bolt head and the line you just made. Refer to the first picture again if you already forgot.
If memory serves, wrench access is less-than-stellar to the front of the compensator link once it's mounted in the chassis. As such, I'm going to say screw-it and torque this bolt down before it goes in the car:
Again, mark the anti-seize length for the camber link. By the way, what's that tasty-looking camber link???
She's looking good eh?
Pic of the GC setup:
Oh and by the way, that's a Skunk2 adjustable camber link:
...and here's how she sits now. My garage is a mess. Don't judge.
Time to finish my Spaten and go to bed. So good night kind sirs.
-jkwan


No comments:
Post a Comment