2012-08-01

On the ground / recap

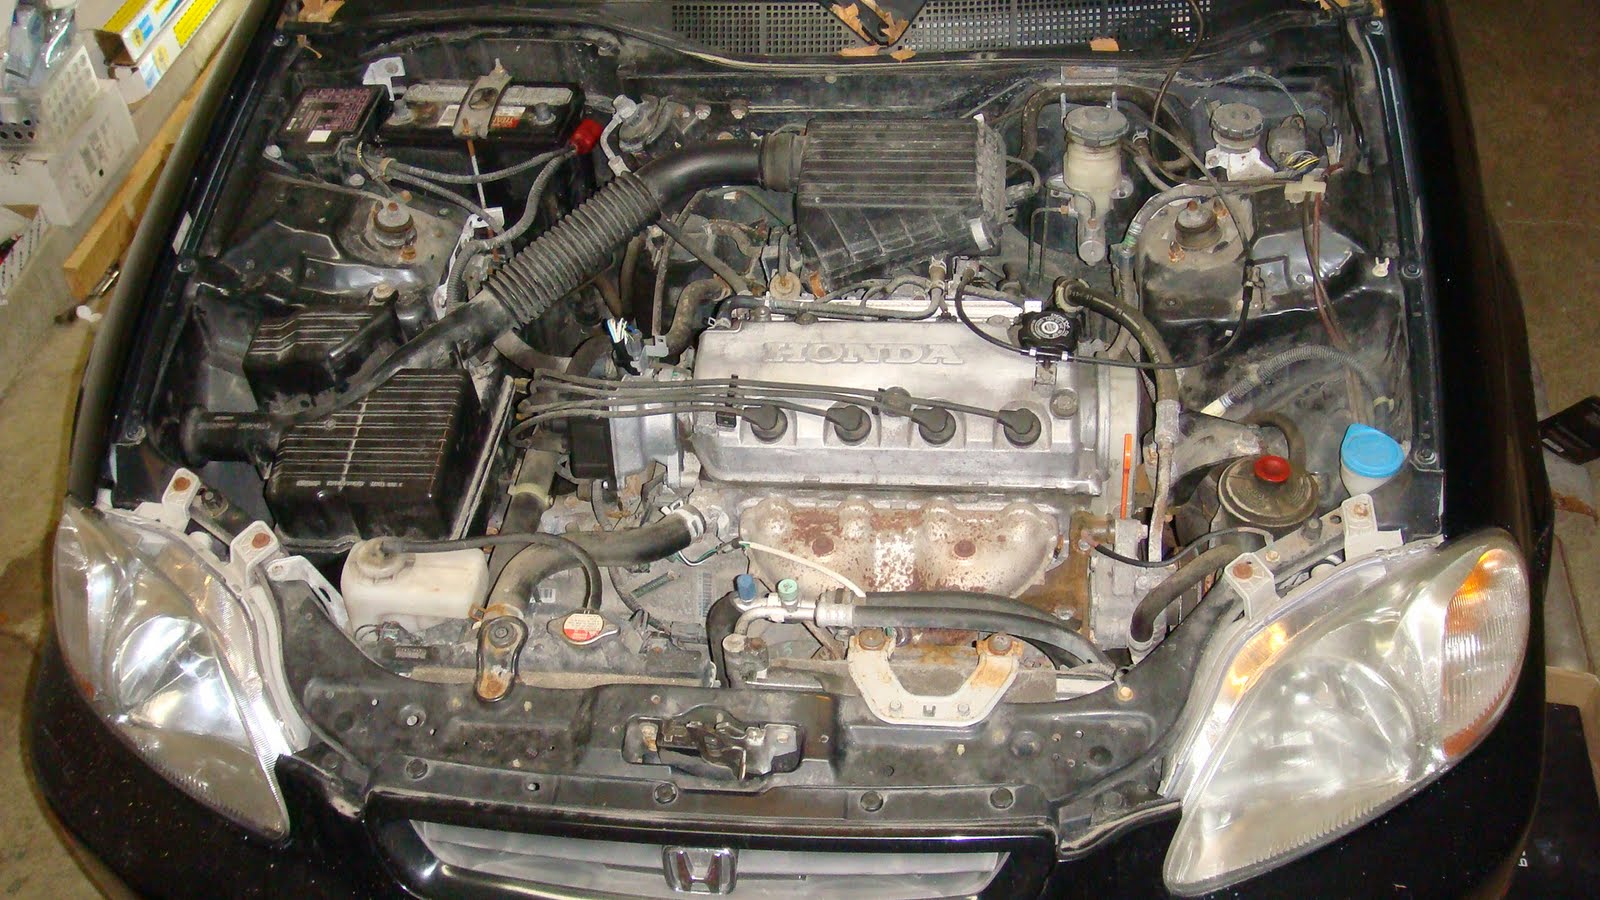
I've been working on my car very sporadically, but the only thing I do less of than work on my Civc is update this blog.  Still I apparently get plenty of views, so thank you.  I have a few pics of my car on the ground.


It looks good, even with the stock bodywork that seems to have more city miles than the odometer would indicate.  The things that bug me the most are the crappy steelies and narrow tires.

You can barely see the black lower control arms and subframe brace, which honestly was the idea behind choosing black.

Obviously I've put a lot of new parts on this car.  You can do what I'm doing for cheaper.  I have a unique opportunity to get Honda parts at a good price, and since I'm already spending money and time on this thing, it was more worthwhile to me to spend the extra money on the top-quality, zero-mile parts and hopefully have a car that drives better than it would have when it rolled off the assembly line at Honda of Canada... when I was in middle school.

Here's a glimpse of the volume of new OEM and aftermarket crap I've thrown at this car.


... one more post tonight before the grind restarts early in the morning.  maybe not.

-kwan

2012-04-29

Off the Jackstands

First, I'm aweful at keeping this thing updated.  In reality, it's April 2012 and the car is off the road again.  But in make-believe-land, it's early June 2011 and I'm getting ready for the car show at the place where I work.  Which is sweet, because I work at a place that hosts a car show for its employees.

I also know what people want to see.  Mostly pictures, light on words.  In the last year, I've been surprised that this blog is getting more hits than I had imagined, and I'm also thrilled to see that IP addresses from all over the world have stumbled on my humble little website.

On that note, for anyone doing this or similar work that may have questions, email me at jkwan.the.clown@gmail.com.  I'm ridiculously busy in general, but I will try to answer at some point!

Now onto the pictures

Here she is in the air, with all of the final assembly completed save for the front tire mounting.

Note that my garage is full of crap and I use my civic's roof for storage.
Also check out the Black Function7 Rear Lower Subframe Brace.  JHP USA came through and shipped it to me pretty quickly.  Not cheap though, but c'est la vie.


Remember, for those of you with crappy short-term memories like myself, use a sharpie paint marker to indicate when you have torqued a bolt to spec.  This is what we do in "the biz", so to speak.


I debated grabbing a bottle of champagne (ie, a 40) and christening my Civic, but Honda didn't use really heavy gauge steel and the bodywork's bad enough already.


AND SHE'S ON THE GROUND.  Look at that stance.  Honestly, it's too low for a man of my years (27) but I admit it looks tight.


Any time you lower a car, especially if you have rebuild every part of the suspension, you need to align it.  This was my attempt at a ghettoalignment.  I got the toe-in within spec, but in retrospect, I should have driven it to a shop and have them do it.


This last shot shows not only how to measure the toe, but also a juxtaposition of beautiful expensive suspension components and janky rusty wheels with all-season tires. 


xoxo
the chef
2011-06-19

Final Assembly!

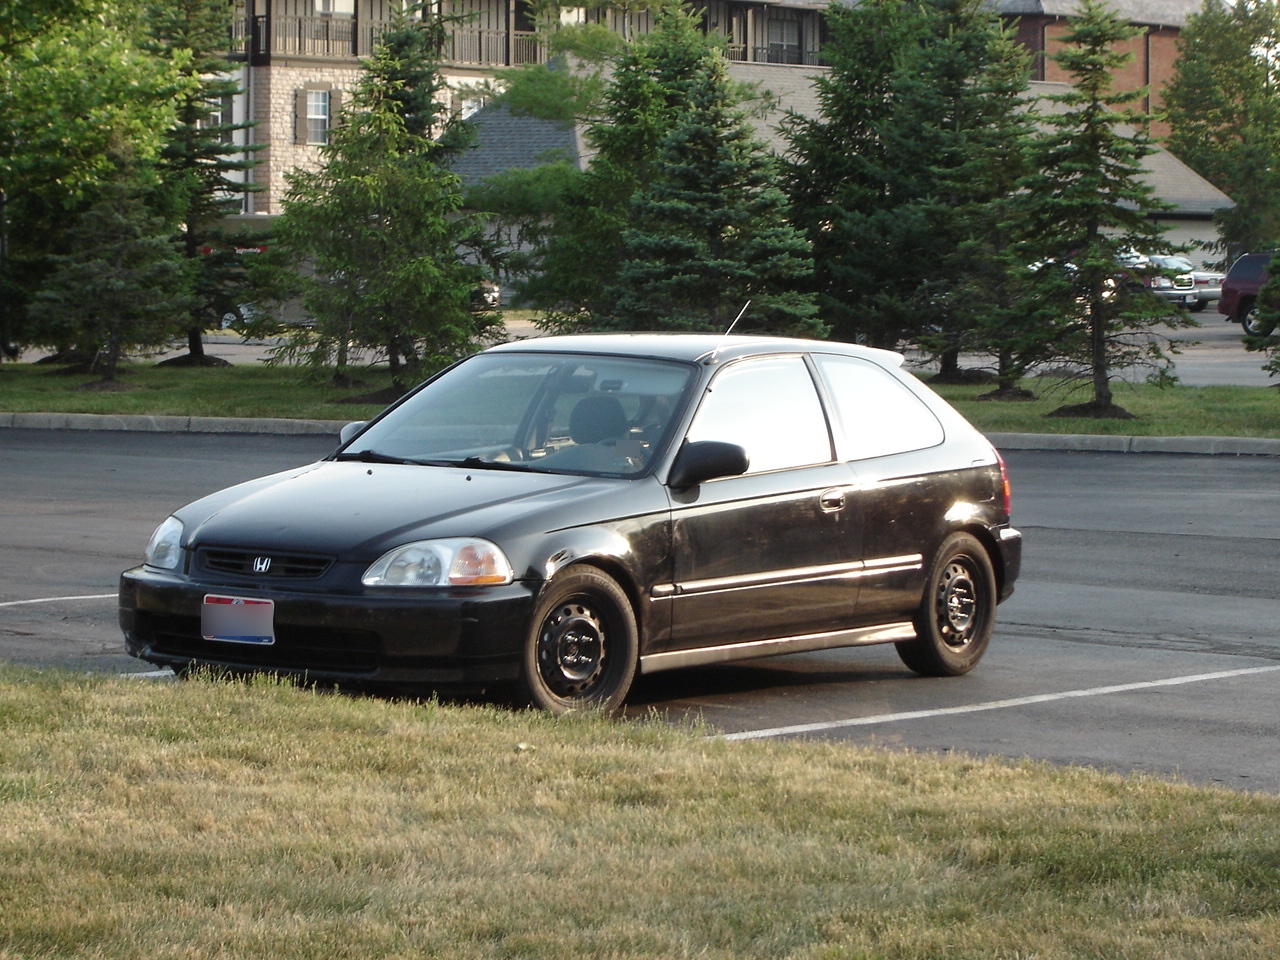
I'm still technically a few weeks behind in my updates because my car was driving around on June 8th.  But let's pretend that it's Sunday, June 5th, and I have some parts that still need to go on.  Here they are:


take a second to bask in the shininess of brand new parts.

You'll want to install the axles.  I tried to make this a one-man job (it basically has been so far) and juggling the axles was something I wanted to do delicately.  So I made Axle Hangers using a strap from some lunch box and a bunch of zip ties.

Here's how they work:  Set the axle (near the outer joint) in the hanger.  Guide the inner end of the axle into the transmission, being VERY CAREFUL not to damage the axle seals on the gearcase.  Basically the hanger supports the weight of the axle while allowing you to move it around and align it carefully into the gearbox.  If you eff this up, you'll need to replace the seals.  So don't botch it.


Now that the axles are in start putting other parts on:


Bolt up some of the other new parts:


PLEASE ENJOY some nice suspension pictures:


Strut Towers and tower bars

If you have a Civic, you must install strut tower bars, and this is a well-known fact.  Unless you don't have the internet, you basically understand how a strut tower bar works and how it mounts to the frame.  Every aftermarket bar I've seen (with the exception of the Neuspeed unit with two small contact pads) has a large, flat mount surface that is secured to the shock top-hat studs.  This is actually a very good way to brace the frame, since the loads are transferred directly from the shock to the bar without having a separate mount point on the sheetmetal, as per some OEM tower bars (Integra, EG civic, etc).

However, your Civic, as mine did, may have a problem with flat area on the shock towers.  See the below pics:


You need to remove the body sealer circled in red.  I took a screwdriver and GENTLY pried the bulk of the sealer off the strut tower.  After that, you'll need a Dremel with a couple different brushes.  At first, use the nylon-bristle brush to remove any remaining sealer.  After that, take a stainless-steel brush to remove as much surface rust as you can.  After those steps, your tower will look like this:


When you're satisfied with the level of crap-removal, clean the surface with rubbing alcohol.  This not only removes particulate contamination, but also removes grease and oils and stuff.

Post-alcohol, it looks like this


After that, start masking stuff off.  Here's some pics:


You can see what's basically going on so I won't give the play-by-play.

After that, I shot three coats of primer and three of Duplicolor metallic black that, in theory, matches Honda black.  Try to avoid overspray.


Towers are done:


...and the final result.  My color matching skills are terrible at best.  Honestly, the color difference is very noticeable with flash photography, and not so much otherwise.

Soon I will have a tower bar to detract from any color discrepancy, and it will have a nice mating surface on the shock tower.

2011-06-05

Manuel steering

First of all, I know manual is spelled "manual".  I just love when I'm gettin my craigslist on, and people are like "yo buy my car, it's got a manuel transmission".  But I digress.

I previously mentioned that I didn't think that back-converting an Integra power-steering rack to manual steering was a great idea, so my homie Taku and I hit up the Pick and Pull for some new-to-me parts.  There were lots of EG civics surprisingly, and one had the exact thing I wanted: an in-tact steering rack and subframe.

It was looking rough, but I took a bit of PB blaster and some soap and water to it and got it looking pretty.


You'll notice I snatched the DC Integra cross-brace (red arrows, second pic above) and bolted it to the EG subframe.  It's a direct bolt-on since the weld-nuts are already there.  Some Honda engineer 20 years ago knew that you'd want to do this swap.  Don't torque this down until the subframe is securely fixed to the body.

If you do this swap, you'll also need a rear engine mount bracket from a car fitting this description: 1992-1995 Civic, D-series engine, manual transmission.  This required a second run to Pick and Pull, and thanks again to Taku for helping me yet again.


You'll see the bracket labeled EG.  When building a car, first go to Joanne Fabrics.  This is not a joke.  Buy bright-colored Sharpie paint markers.  When you buy parts or remove parts, label them.  When you torque bolts down, mark it.  You'll see your car came from the factory with many such marks (look at the subframe bolts).  It's a good idea.

The last step is the steering universal joint.  This is the most difficult part, oddly enough.  Don't fit the subframe to the body with the universal joint on the rack.  Take it off and fit it later.  Learn from my mistakes.  The universal only fits on the steering column at one angle (clock position), but can be fit 360-deg around the steering gear.  Live and learn.


I'm still amazed at how all this stuff just bolts right up.  These old Civics and Integras are like legos for big kids.  Big, rusty Legos.

ZZZZzzzzz
-jkwan

Pass. Side RR Sus parts...

Some more eye candy...


New Cluster

Little tidbit I got in the mail from HMotorsOnline.

Everyone likes Si and JDM CTR meters, but taking a look at the JDM EK4 Si-R meter, I have no idea why.  Amber on black color scheme, 9k+ RPM revcounter... this thing is tight.

Incredibly easy to install also.

I'll get a night photo when the battery's in the car.